A tiny home electrical system is a scaled power setup that supplies safe, code-compliant electricity to a small-footprint dwelling, whether that dwelling sits on a foundation or a trailer chassis. Getting this system right from the start prevents overloaded circuits, fire risk, and expensive rework down the line. I have seen too many tiny home projects stall because the electrical plan got bolted on after the walls went up instead of designed in from day one.
Power planning in a 200-square-foot home works differently than in a 2,000-square-foot house. Every circuit, every wire gauge, and every power source choice carries more weight when the margin for error shrinks. Getting the design wrong here means living with flickering lights, tripped breakers, or worse.
This guide walks through power planning and system types first, then moves into solar integration, wiring standards, and code compliance. From there I cover power connections and backup systems, and close with safety systems and what working with a licensed electrician actually looks like.
How Tiny Home Electrical Systems Differ From Standard Homes
A tiny home electrical system is a compact power distribution setup that serves a dwelling typically under 400 square feet, built to handle a smaller but often more concentrated load than a standard house circuit. Standard homes spread demand across dozens of circuits. Tiny homes often run everything through a handful.
That difference changes how I think about design from the ground up. A refrigerator, an induction cooktop, and a space heater running at once can push a small system past its limit fast. Standard homes rarely notice that kind of simultaneous draw because they have so much more circuit capacity to absorb it.
Load Calculations for Compact Living Spaces
Load calculation in a tiny home starts with listing every device that draws power and adding up the wattage. I add a safety margin on top of that total, because appliances rarely run in isolation. A microwave and a hair dryer running together can trip a breaker sized only for average use.
Most tiny homes land somewhere between 30 and 50 amps of total service. That number determines almost every other decision that follows, from wire gauge to panel size.
Shore Power vs. Off-Grid vs. Hybrid Systems
Shore power means plugging into an external grid connection, the same way an RV connects at a campground. Off-grid systems generate and store their own power through solar or generators with no outside hookup. Hybrid systems combine both, giving a home grid access when available and independent power when it is not.
I recommend hybrid setups for most tiny home owners because they offer flexibility without full reliance on either source. A home parked near reliable utility access still benefits from solar backup during outages or travel.
Calculating Your Power Needs and Load Capacity
Power needs get calculated by cataloging every appliance, its wattage, and how many hours per day it runs. This process determines the size of your service panel, your wire gauge, and whether solar or shore power alone can meet demand. Skipping this step is the single biggest mistake I see in tiny home electrical planning.
Listing Appliance and Device Wattage
Every device pulls a specific wattage, and adding these up gives a baseline daily load. A refrigerator might draw 150 watts continuously, while a microwave spikes to 1,000 watts for a few minutes at a time. I list both continuous and peak loads separately because peak demand is what determines breaker sizing, not average use.
Lighting, phone chargers, and small electronics add up too, even though each draws little individually. A full inventory prevents surprises once the system goes live.
Sizing Your System for Seasonal and Future Use
A system sized for today’s needs often falls short within a year or two. Adding an air conditioner, a second refrigerator, or an electric vehicle charger later means the original design needs headroom built in now. I always size a bit above current need, because retrofitting a finished tiny home’s electrical system costs far more than adding capacity during initial design.
Seasonal shifts matter too. A system that handles summer cooling loads fine might struggle with winter heating demand if those loads were not accounted for separately.
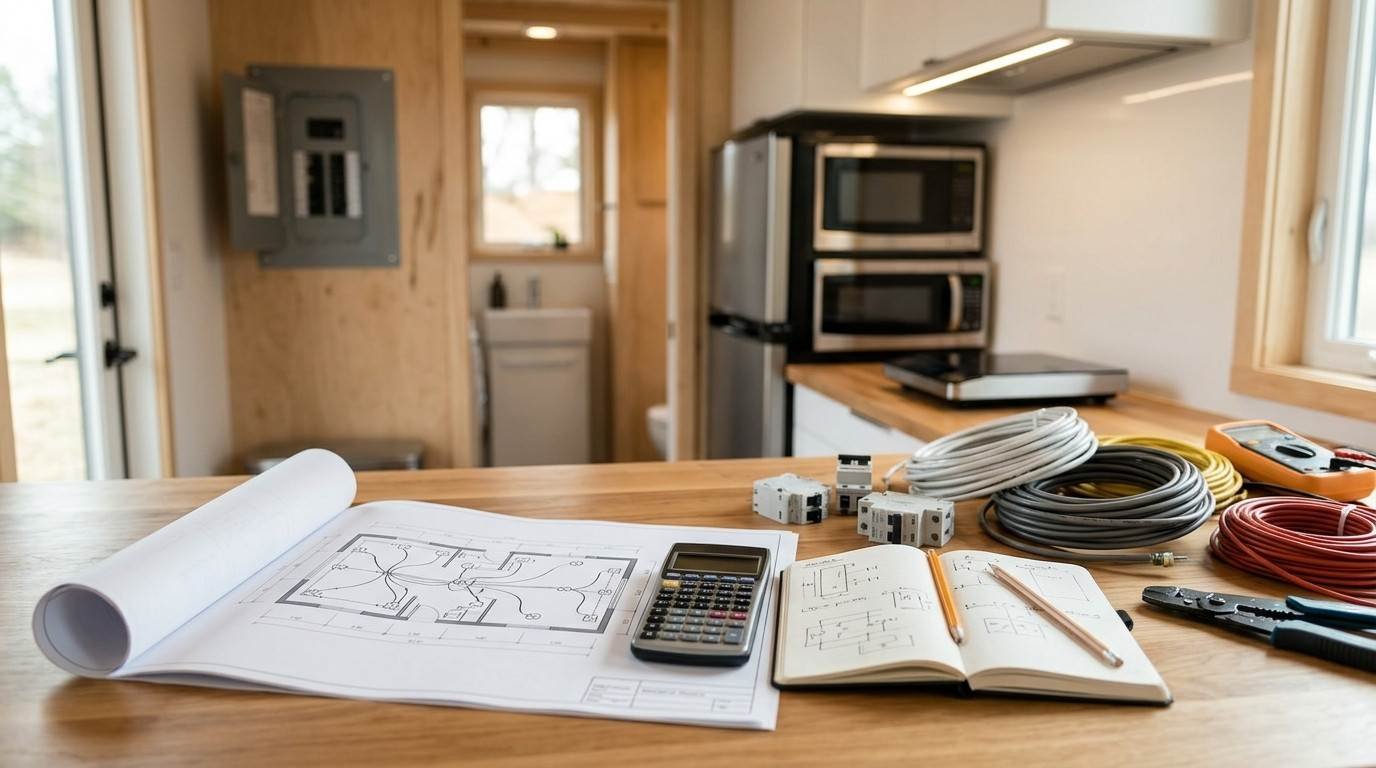
Choosing Between 12V, 120V, and 240V Systems
A tiny home electrical system typically runs on a combination of 12-volt DC for lighting and small electronics, and 120-volt or 240-volt AC for standard household appliances. The choice between these depends heavily on whether the home stays off-grid, connects to shore power, or does both. Most modern tiny homes use a hybrid of all three voltage types.
When Low-Voltage DC Systems Make Sense
A 12-volt DC system works well for lighting, USB charging, and small pumps because it draws directly from a battery bank without conversion loss. This setup fits homes that spend significant time off-grid, since DC appliances sip power efficiently compared to running everything through an inverter.
I steer owners toward DC circuits for anything that runs constantly, like LED lighting or a water pump. The efficiency gain adds up over a full day of use.
Running Standard AC Appliances in a Tiny Home
Standard appliances like refrigerators, microwaves, and induction cooktops need 120-volt or 240-volt AC power, which means either a shore power connection or an inverter converting battery-stored DC into usable AC. Inverters lose some efficiency in that conversion, so oversizing the inverter slightly protects against voltage drops during high-demand moments.
A 240-volt circuit becomes necessary for larger appliances like electric water heaters or certain HVAC units. Not every tiny home needs this, but larger or more residential-style builds often do.
Solar Power Integration and Off-Grid Design
Solar integration in a tiny home means installing photovoltaic panels, a charge controller, a battery bank, and an inverter to convert sunlight into usable household power. The National Renewable Energy Laboratory found that a well-sized residential solar setup can offset the majority of a small home’s daily electrical demand under typical sun exposure. That number shifts based on location, panel angle, and shading, but it gives a realistic starting benchmark for tiny home planning.
Solar Panel Sizing and Placement
Panel sizing depends on daily wattage needs divided by average peak sun hours in your location. A tiny home in Southern California sees more consistent peak sun than one in a shaded mountain lot, which changes how many panels the roof actually needs. I always calculate for the worst realistic month, not the best one.
Roof space on a tiny home is limited, so panel efficiency matters more here than on a standard house. Higher-efficiency panels cost more upfront but often make more sense given the tight surface area available.
Battery Bank Types and Capacity Planning
Lithium batteries have become the standard choice for tiny home solar systems because they hold more capacity per pound and last longer than older lead-acid options. A battery bank needs enough stored capacity to carry the home through at least one to two cloudy days without a shore power backup.
Capacity planning here connects directly back to the load calculation done earlier. Undersizing the battery bank means running out of power exactly when it matters most.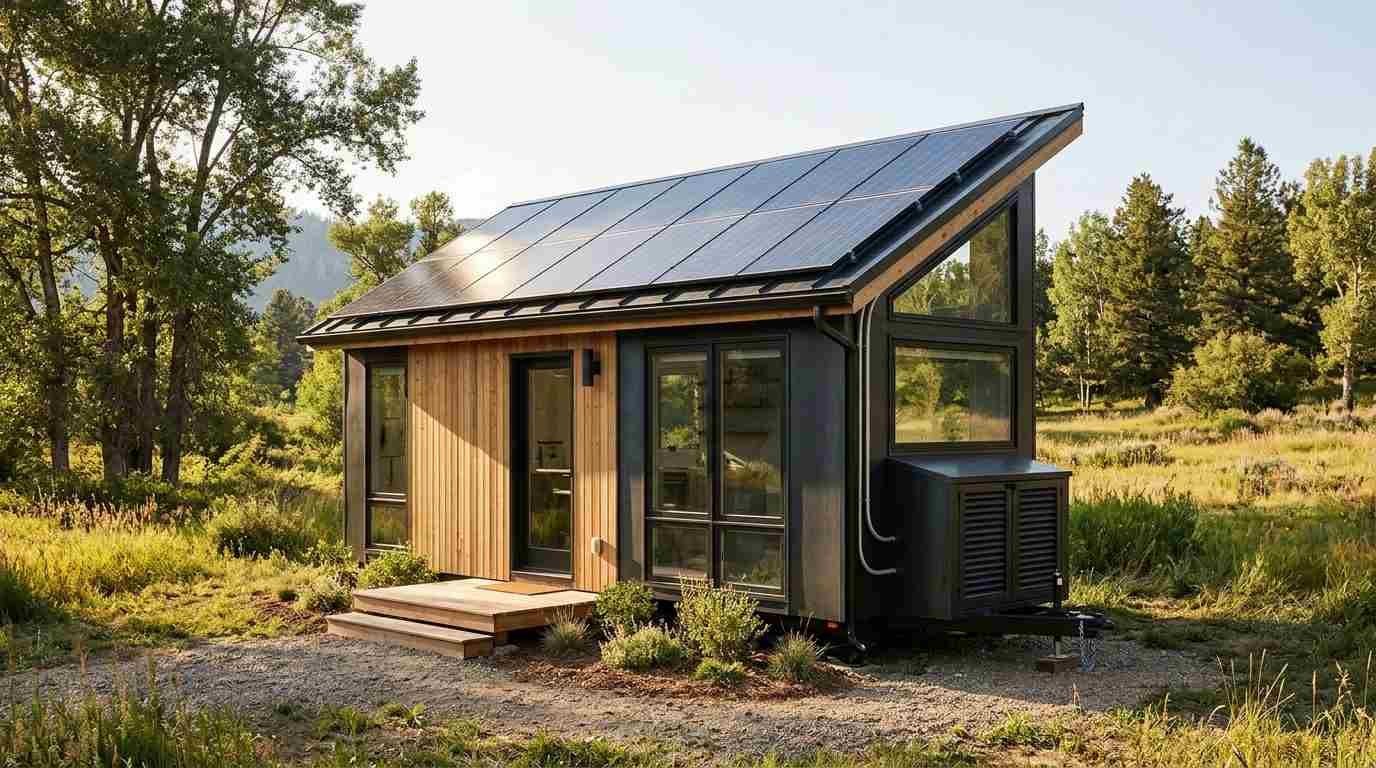
Wiring Standards, Wire Gauge, and Circuit Planning
Wire gauge determines how much current a circuit can safely carry without overheating, and getting this wrong creates a genuine fire hazard. Circuit planning organizes which appliances share which circuits and how the panel distributes power throughout the home. These two decisions shape the entire electrical backbone of a tiny home.
Selecting the Right Wire Gauge for Each Circuit
Wire gauge selection depends on the amperage a circuit carries and the distance the wire travels. A 15-amp lighting circuit needs a different gauge than a 30-amp appliance circuit, and using undersized wire on a higher-draw circuit risks overheating inside the walls. I always match gauge to the highest realistic load that circuit will ever carry, not just its typical use.
Longer wire runs also lose voltage over distance, so a circuit running from the panel to a far corner of the home sometimes needs a heavier gauge than the amperage alone would suggest.
Circuit Breaker Panels and Subpanel Layout
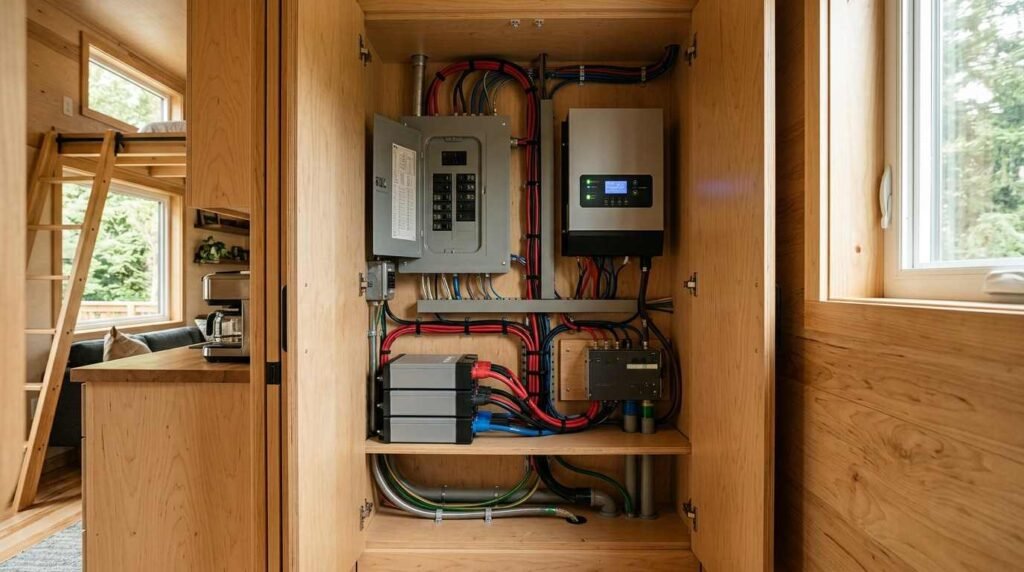
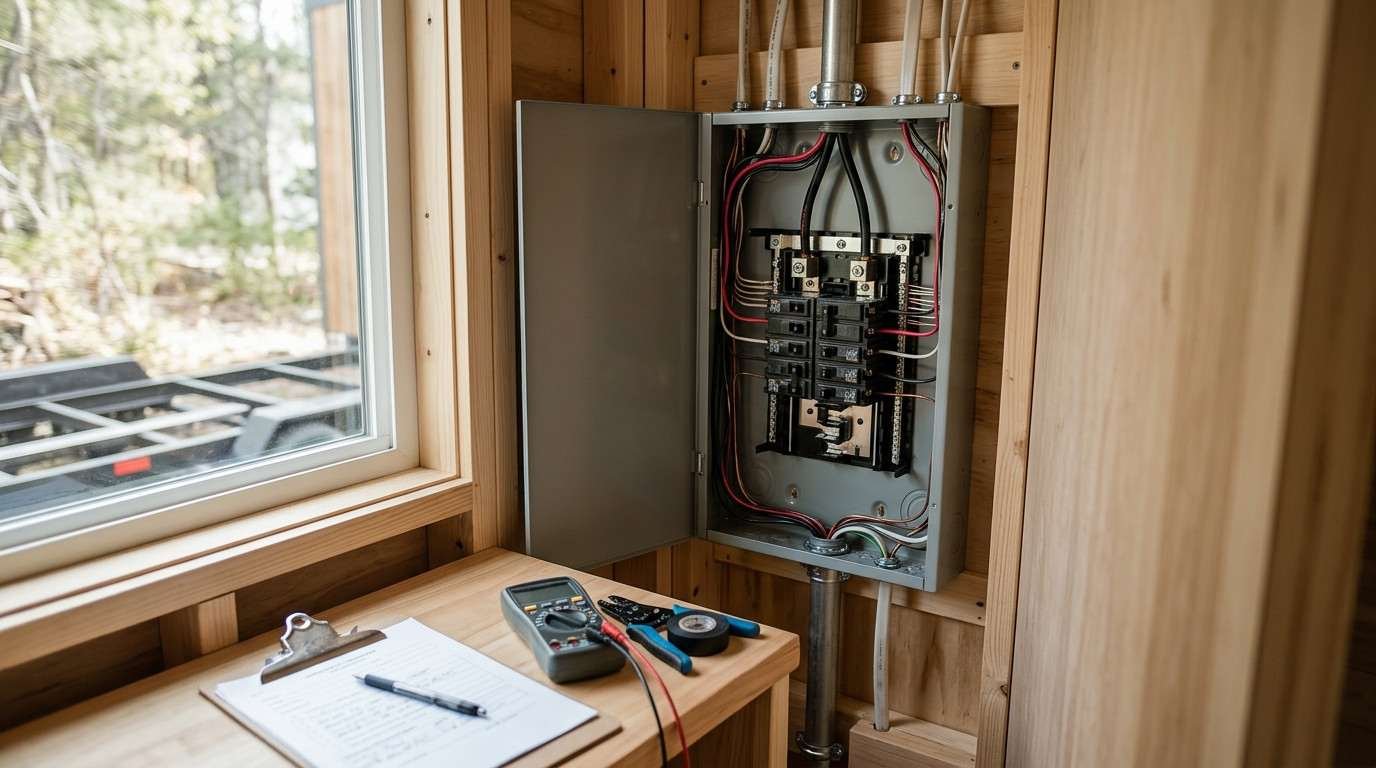
A circuit breaker panel distributes incoming power across individual circuits, each protected by a breaker sized to that circuit’s wire gauge and load. Tiny homes typically use a compact panel with far fewer slots than a standard house panel, which means every circuit assignment matters more.
Subpanels come into play for homes running both shore power and solar, since each power source often needs its own distribution point before merging into the main panel.
Electrical Code Compliance for Tiny Homes
Electrical code compliance means the wiring, panel, and safety systems meet standards set by the National Electrical Code and, for mobile units, the Recreational Vehicle Industry Association. A tiny home on a permanent foundation typically falls under standard residential code, while one on a trailer chassis usually falls under RV-style standards instead.
NEC Requirements and RVIA Standards
The National Electrical Code sets baseline requirements for wire gauge, breaker sizing, and grounding that apply to foundation-based tiny homes. RVIA standards apply instead when the structure sits on a trailer and moves, since those homes get classified more like recreational vehicles than fixed residences. Knowing which standard applies to your specific build determines which inspector signs off on the finished work.
Mixing up these two standards is a common and costly mistake. A wiring job that passes RVIA inspection might fail NEC review, and the reverse holds true too.
Inspections and Certification for Mobile Structures
Mobile tiny homes typically need certification through a recognized inspection agency before the electrical system gets legally approved for use. This process checks wire gauge, breaker sizing, grounding, and overall system safety against the applicable code. Skipping certification might save time upfront, but it creates real problems with insurance, resale, and legal occupancy later.
Foundation-based tiny homes go through a more traditional permit and inspection process, similar to a standard home build.
Shore Power Hookups and RV-Style Connections
Shore power hookups let a tiny home plug directly into an external electrical grid connection, most commonly at an RV park, campground, or dedicated residential hookup. This connection type gives instant access to standard grid power without relying on batteries or solar generation.
30-Amp vs. 50-Amp Shore Power Connections
A 30-amp shore power connection supplies enough power for basic lighting, a refrigerator, and small appliances, but struggles under heavier simultaneous loads. A 50-amp connection handles larger draws like air conditioning and electric cooking equipment running at the same time.
I recommend 50-amp service for anyone planning a more residential-style tiny home with full-size appliances. The extra capacity avoids the constant breaker-tripping frustration that comes with undersized shore power.
Transfer Switches for Multiple Power Sources
A transfer switch allows a home to safely switch between shore power, solar battery power, and generator power without backfeeding electricity into the wrong source. This device sits between the incoming power sources and the main panel, routing whichever source is active into the home’s circuits.
Without a properly installed transfer switch, running multiple power sources into the same system creates a genuine safety hazard.
Generator Backup and Emergency Power Options
A backup generator provides emergency power when solar and shore power are both unavailable, covering gaps during extended cloudy stretches or grid outages. Generator sizing follows the same load calculation process used for the rest of the electrical system.
Portable vs. Built-In Generator Systems
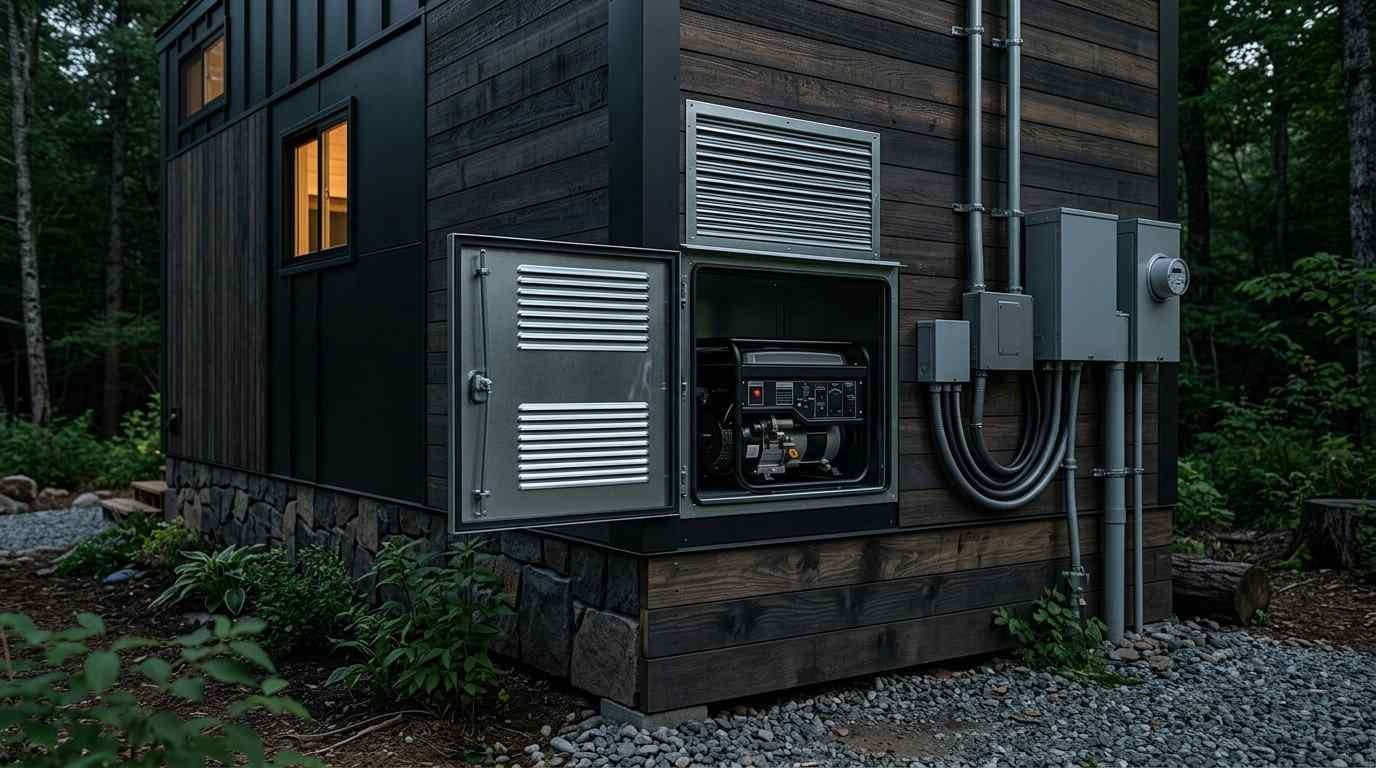
Portable generators offer flexibility and lower upfront cost, but need manual setup and fuel management every time they run. Built-in generators install permanently into the tiny home’s structure and often integrate directly with the transfer switch for automatic operation.
I lean toward built-in systems for anyone who plans extended off-grid stays, since the convenience factor outweighs the higher installation cost over time.
Automatic Transfer Switches and Failover Design
An automatic transfer switch detects when the primary power source drops and switches to backup power without any manual intervention. This matters most for homes relying on refrigeration or medical equipment, where even a short power gap causes real problems.
Failover design should account for the brief switching delay these systems have, since sensitive electronics sometimes need a moment to reboot after the switch completes.
Safety Systems, Grounding, and Surge Protection
Grounding provides a safe path for excess electrical current to travel, preventing shock and fire in the event of a fault. Surge protection shields sensitive electronics from voltage spikes, which happen more often in systems that combine multiple power sources like solar, shore power, and generators.
GFCI and AFCI Protection Placement
Ground-fault circuit interrupters cut power instantly when they detect current leaking outside its intended path, and they belong in every kitchen, bathroom, and outdoor circuit. Arc-fault circuit interrupters detect dangerous arcing conditions inside wiring and are increasingly required on bedroom and living space circuits.
Both devices cost little compared to the fire and shock risk they prevent, and skipping them to save a few dollars on a tiny home build is never worth it.
Proper Grounding for Mobile and Foundation-Based Units
A foundation-based tiny home grounds the same way a standard house does, through a grounding rod driven into the earth near the main panel. A mobile tiny home on a trailer needs a different approach, often grounding through the trailer frame itself or a dedicated bonding system.
Getting grounding wrong on a mobile unit is one of the more common code violations I see during inspections, largely because builders default to standard residential methods that do not translate directly to a trailer chassis.
Working With a Licensed Electrician for Tiny Home Wiring
A licensed electrician brings code knowledge, safety training, and inspection experience that most DIY builders simply do not have. Tiny home electrical work looks deceptively simple because of the smaller scale, but the consequences of a mistake are just as serious as in a full-size home.
Questions to Ask Before Hiring an Electrician
I always ask whether the electrician has specific experience with tiny homes or mobile structures, since standard residential wiring experience does not always translate directly. Asking about their familiarity with both NEC and RVIA standards reveals whether they understand which code applies to your specific build.
Getting a clear answer on permit handling and inspection scheduling upfront avoids delays later in the project.
DIY Wiring Risks and When to Call a Professional
Basic tasks like running low-voltage DC circuits for lighting fall within reach for a confident DIY builder. Anything touching the main panel, shore power connections, or solar system integration crosses into territory where a licensed professional protects both safety and code compliance.
The cost of hiring a professional electrician is small compared to the cost of a fire, a failed inspection, or a voided insurance policy from unpermitted work.
Conclusion
Tiny home electrical design connects load calculations, wiring standards, and power source choices into one working system. Getting these elements right protects the home and everyone living in it.
Every decision here, from wire gauge to grounding method, shapes how safely and reliably the home performs for years to come. Code compliance is not optional.
We at Tiny Home Builders California help homeowners design and install electrical systems built to last. Reach out to us to start planning a system that fits your home and your life.
Frequently Asked Questions
What size electrical service does a tiny home need?
Most tiny homes need between 30 and 50 amps of total electrical service. The exact figure depends on appliance load, whether you plan to run full-size kitchen equipment, and how much heating or cooling demand the home carries.
Can a tiny home run entirely on solar power?
Yes, a tiny home can run entirely on solar power with a properly sized panel array and battery bank. Sizing depends on daily wattage needs, available sun exposure, and how many cloudy days the battery bank needs to cover.
Do tiny homes need to meet the same electrical code as regular houses?
It depends on whether the tiny home sits on a permanent foundation or a trailer. Foundation-based homes generally follow standard NEC residential code, while mobile units often fall under RVIA standards instead.
What is the difference between 30-amp and 50-amp shore power?
A 30-amp connection handles basic lighting and small appliances, while a 50-amp connection supports heavier simultaneous loads like air conditioning and electric cooking. Homes with full-size appliances typically need 50-amp service.
Is it safe to wire a tiny home myself?
Basic low-voltage lighting circuits are manageable for a confident DIY builder. Anything involving the main panel, shore power, or solar integration should go to a licensed electrician because the safety and code stakes are too high for guesswork.
How many batteries does a tiny home solar system need?
Battery bank size depends on daily power consumption and how many cloudy days the system needs to cover without recharging. Lithium batteries are the current standard because they store more capacity per pound than older lead-acid options.
What is a transfer switch and why does a tiny home need one?
A transfer switch safely routes power between shore power, solar batteries, and a generator without letting sources backfeed into each other. It is essential for any tiny home using more than one power source.