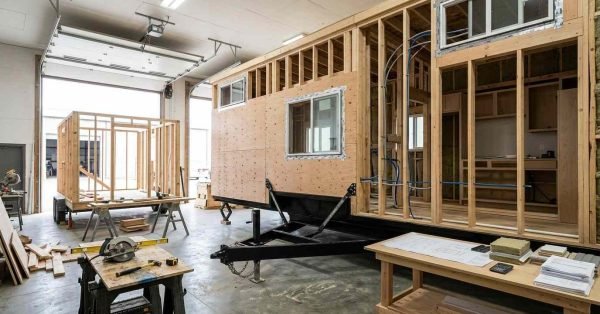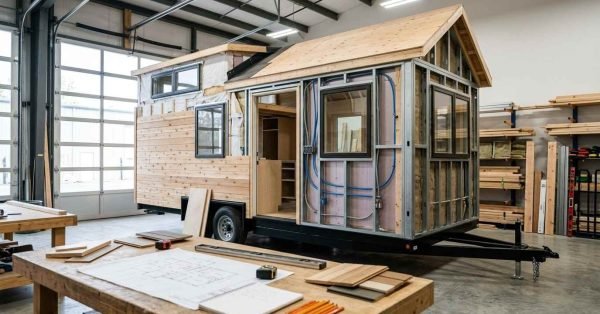
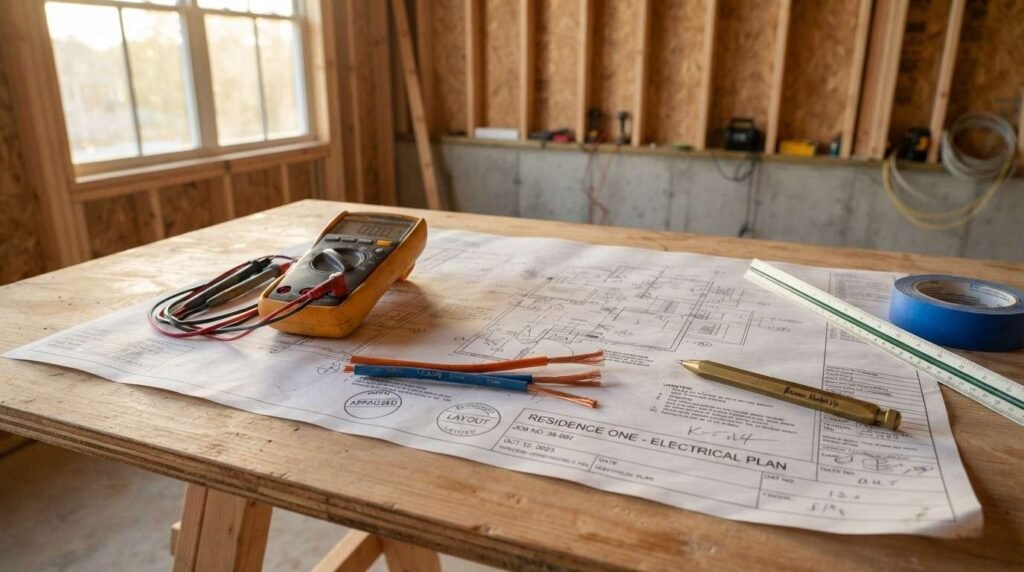
Electrical system design for custom homes is the engineering and planning process that determines how power enters, distributes through, and safely serves every room, circuit, and appliance in a house. I treat it as the nervous system of the home, and it gets locked in long before drywall.
Most homeowners I talk to discover electrical problems years later, after the walls close. Bad design shows up as tripped breakers, dead outlets, and expensive retrofits nobody budgeted for.
This guide covers what design means, core components, California code, lighting, smart wiring, solar and EV readiness, safety, process and budget, builder evaluation, plus ADU considerations.
What Electrical System Design Means in a Custom Home
Electrical system design is the documented plan that calculates a home’s total power demand, sizes the service and panel to meet it, and maps every circuit before a single wire gets pulled. It is a drawing set and a math exercise, not a field decision.
I separate design from installation on purpose. Installation is skilled labor that follows a plan. Design is the intelligence that makes the plan worth following.
Load Calculation, Service Size, and Panel Capacity
A load calculation adds up the connected demand of every major system in the home: HVAC, water heating, cooking, laundry, EV charging, pool equipment, and general lighting and receptacle loads. That number drives the service size, which in most custom homes lands at 200 amps, 320 amps, or 400 amps.
Getting this wrong in either direction costs money. Undersize the service and the home runs out of capacity the first time someone adds a heat pump. Oversize it wildly, and you pay for utility infrastructure and gear you never use.
Panel capacity matters just as much as amperage. A 200-amp panel with 30 spaces and 28 of them full on move-in day is a design failure disguised as a passing inspection.
Circuit Design, Zoning, and Home Layout
Circuit design decides which outlets, lights, and appliances share a breaker. Good design groups circuits by room function and expected simultaneous use, so a vacuum, a space heater, and a kitchen appliance never fight over the same 20 amps.
Zoning follows the floor plan. I want the primary suite, the kitchen, the garage, the outdoor areas, and any home office on their own logical circuit groups.
Layout also drives panel and subpanel placement. A long, sprawling single-story home needs a different distribution strategy than a compact three-story build, and that decision belongs in the load calculation and circuit planning stage rather than the framing stage.
How Design Differs From Simple Wiring Work
Wiring answers “how do we connect this?” Design answers “what does this home actually need for the next thirty years?”
The difference shows in the paperwork. A designed system arrives with panel schedules, circuit directories, load calculation sheets, and a lighting plan. An undesigned system arrives with an electrician’s memory and a roll of tape.
Why Electrical Design Is a Quality Indicator of Your Builder
I use electrical design as one of my fastest reads on builder quality. It sits mostly hidden; it is expensive to fix later, and it rewards discipline that no buyer sees on a walkthrough.
Builders who plan electrical properly tend to plan everything properly. The same habits that produce a clean panel schedule produce accurate framing, coordinated mechanicals, and fewer change orders.
Design-First Builders vs. Field-Improvised Wiring
A design-first builder brings an electrical plan to the pre-construction meeting and walks you through it room by room. A field-improvised job decides outlet locations during rough-in, based on where the drywall crew has not arrived yet.
Field improvisation is not always visible as a defect. It shows up as an outlet behind the refrigerator, a switch that controls nothing useful, and a garage with one circuit serving a freezer, a compressor, and a future EV.
Documentation, Plans, and As-Built Records
Ask for as-built electrical documentation as a deliverable. That means a final panel schedule, circuit directory, and marked drawings showing what got installed rather than what got drawn.
Homes with real documentation are cheaper to renovate, easier to troubleshoot, and simpler to appraise. This is one of several construction documentation standards I expect from any builder handling a custom project.
Core Components of a Custom Home Electrical System
Every custom home electrical system breaks into a handful of major components. Understanding them gives you vocabulary for the conversations that matter with your builder and electrician.
I walk clients through these components in the same order power travels, from the street to the switch on the wall.
Service Entrance, Meter, and Main Panel
The service entrance is where utility power reaches the property, either overhead or underground. Underground service costs more and looks better, and in many California developments it is required rather than optional.
The meter measures consumption. The main panel, sometimes combined with a main breaker disconnect, is where power splits into branch circuits and where every future modification begins.
Panel brand and quality matter more than most buyers expect. Bus bar construction, breaker availability, and space count all affect the home’s usable life.
Subpanels, Branch Circuits, and Conductors
Subpanels extend distribution to detached garages, guest houses, workshops, and distant wings. A well-placed subpanel shortens conductor runs, reduces voltage drop, and gives you room to grow.
Branch circuits carry power to devices. Conductor sizing depends on load, distance, and allowable voltage drop, and the wire gauge and voltage drop calculations behind that decision separate careful design from guesswork.
Grounding, Bonding, and Surge Protection
Grounding gives fault current a safe path back to the source. Bonding ties metallic systems together so they never sit at different voltages during a fault.
Whole-home surge protection sits at the panel and clamps voltage spikes from the utility and from lightning. I install it on every project because a single surge event costs more than the device.
Receptacles, Switches, and Device Quality
Devices are the only part of the system homeowners physically touch. Cheap receptacles loosen, arc, and fail; spec-grade devices hold their grip for decades.
I also plan device count generously. Adding a receptacle during rough-in costs a fraction of adding one after paint.
California Electrical Codes and Permit Requirements
California electrical work follows the California Electrical Code, which adopts the National Electrical Code with state amendments, plus the Title 24 energy standards. Both are enforced through your local building department.
Code is the floor, not the ceiling. I design above minimum in the places where compliance and long-term performance diverge.
California Electrical Code and Title 24 Basics
The California Electrical Code forms Part 3 of Title 24, and it updates on a three-year cycle. Title 24 also governs lighting controls, efficiency, and increasingly, solar and storage readiness for new residential construction.
Title 24 lighting requirements affect real design choices. Recessed fixture types, dimmer selection, and outdoor lighting controls all trace back to energy compliance rather than aesthetics.
Permits, Rough-In Inspection, and Final Sign-Off
Electrical permits get pulled before work starts. The rough-in inspection happens after wiring and boxes are installed and before insulation and drywall close the walls.
Final inspection covers devices, panel labeling, protection devices, and functional testing. I never let a project pass rough-in with open items, because closed walls turn small corrections into demolition.
Local Amendments and Utility Coordination
Cities and counties layer their own amendments on top of state code. Underground service requirements, transformer locations, and meter placement rules vary enough that I confirm them per jurisdiction.
Utility coordination runs on its own timeline. Service upgrades and new connections through providers like PG&E take weeks to months, and that lead time belongs in the schedule from day one.

Electrical Planning for Lighting and Interior Design
Lighting design and electrical design are the same conversation. Fixture locations, switch legs, and dimming zones all get decided during electrical planning, months before anyone picks a finish.
I schedule a lighting walkthrough at rough-in with the homeowner standing in each room. That single meeting prevents most of the regret I hear about after move-in.
Layered Lighting Plans and Fixture Placement
A layered plan combines ambient, task, and accent lighting so each room works at different times of day. Kitchens need task light at counters, dining spaces need dimmable ambient light, and stairs need code-compliant illumination at every landing.
Fixture placement follows furniture and traffic, not ceiling grid symmetry. Centering a can light over a hallway looks tidy on paper and lights nothing useful.
Dimming, Controls, and Color Temperature
Dimming compatibility is a design decision, not an accessory. LED drivers, dimmer types, and load minimums have to match, and mismatches produce flicker and buzz that no amount of finish work hides.
Color temperature consistency matters across a whole floor. I specify a single temperature family so adjacent rooms never read warm and cold against each other.
Smart Home Wiring, Low-Voltage, and Structured Cabling
Smart home capability depends on physical infrastructure installed during rough-in. Wireless devices still need power, access points, and a wired backbone to perform reliably.
I treat low-voltage as a parallel design track with its own plan, its own budget line, and its own walkthrough.
Structured Media Panels and Network Backbone
A structured media panel centralizes network, coax, and control wiring in one serviceable location. Category 6 or 6A runs from that panel to every office, television location, and ceiling access point.
Wired backhaul beats mesh in a large custom home every time. Thick walls, long spans, and steel all degrade wireless signal in ways that a single structured wiring plan solves at framing cost.
Future-Proofing With Conduit and Spare Capacity
Empty conduit is the cheapest insurance in the house. A run from the attic to the media panel and another from the panel to the garage lets you add technology that does not exist yet.
Spare capacity applies to breaker spaces, conduit, and pathways. I leave headroom in all three because homeowners always add rather than subtract.
Energy Efficiency, Solar, Storage, and Electrification
California homes now get designed as electrical hubs, not just electrical consumers. Solar generation, battery storage, EV charging, and heat pump equipment all compete for panel space and service capacity.
Planning these together at design keeps them affordable. Adding them one at a time after occupancy triggers repeated panel work.
Solar-Ready and Storage-Ready Design
Solar-ready design reserves roof area, conduit pathways, and panel or busbar capacity for a photovoltaic system. Storage-ready design adds a location for the battery, the necessary disconnects, and a plan for backed-up critical loads.
The California Energy Commission sets residential solar and storage provisions through the building energy efficiency standards, and those provisions shape panel selection directly. I design for the full system even when a client installs in phases.
EV Charging Capacity and Panel Headroom
A Level 2 charger draws a serious continuous load, and two chargers double the problem. I run dedicated circuits to garage locations during rough-in whether or not a car is on order.
Load management devices let multiple large loads share limited capacity. They work well, and they work best when designed in rather than bolted on.
All-Electric Homes and Heat Pump Loads
All-electric homes replace gas cooking, water heating, and space heating with electric equipment. Heat pump water heaters and heat pump HVAC change the load calculation substantially.
That shift usually pushes service size upward. It also simplifies the mechanical scope and pairs naturally with energy-efficient home design decisions made at the same stage.
Safety, Durability, and Long-Term Electrical Performance
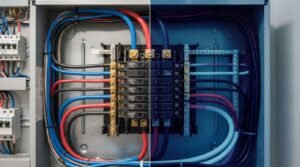
Electrical safety is the part of the system that pays off invisibly for decades. Protection devices, correct conductor sizing, and clean workmanship prevent the failures that make headlines.
The U.S. Fire Administration reports electrical malfunction among the leading causes of residential structure fires, which is exactly why I refuse to treat protection devices as optional upgrades.
AFCI, GFCI, and Arc Fault Protection
GFCI protection interrupts current when it finds a ground fault, which protects people in wet locations like kitchens, baths, garages, and exteriors. AFCI protection detects the signature of an arcing fault and shuts the circuit down before it ignites material.
Modern code requires both across most of the home. Nuisance tripping usually points to a wiring problem, not a faulty breaker, so I chase the cause rather than swapping the device.
Wire Sizing, Heat, and Service Life
Conductors heat under load, and heat degrades insulation over time. Sizing conductors with real margin keeps operating temperature down and extends service life well past code minimum.
Termination quality decides the rest. Loose lugs and over-torqued screws create resistance, resistance creates heat, and heat eventually creates failure.
The Electrical Design Process, Timeline, and Budget
Electrical design runs across three distinct stages: pre-construction design, rough-in execution, and trim-out. Each stage has a decision deadline, and missing one moves cost from cheap to expensive.
I give homeowners a clear picture of where their money goes, because electrical is one of the line items buyers understand least and question most.
Design Phase, Walkthrough, and Rough-In
The design phase produces the electrical plan, panel schedule, and lighting layout alongside the architectural drawings. Changes here cost pencil time.
The rough-in walkthrough happens once framing is up and before wire gets pulled. Homeowners mark outlet heights, switch locations, and fixture positions in real space, and this is the last cheap moment to change anything.
Rough-in installation follows, then inspection, then insulation and drywall. After drywall, every change becomes a repair.
Where Electrical Costs Actually Go
Labor dominates the electrical budget, followed by devices and fixtures, then panels and gear, then permits and utility fees. Fixture selection swings the total more than wiring does, because a lighting package has no practical ceiling.
Service size and distance from the utility connection drive gear cost. A long underground run to a rural site costs more than the entire panel and distribution package in a suburban lot.
Allowances hide the real numbers. I price lighting and low-voltage as specified scopes rather than round-number allowances, so custom home construction costs stay predictable instead of drifting upward at every selection meeting.
Change Orders and Why Timing Matters
A change during design costs a revised drawing. The same change during rough-in costs labor and material. After drywall, it costs demolition, patching, texture, and paint.
That escalation is the entire reason I front-load electrical decisions. Front-loading is uncomfortable, and it saves real money.
How to Evaluate a Builder’s Electrical Design Capability
I evaluate electrical capability by looking at documents, not promises. A builder who designs well produces paper you can read, and a builder who improvises produces reassurance you cannot verify.
Ask to see a complete electrical plan set from a recently finished home. Panel schedules, circuit directories, lighting plans, and low-voltage layouts tell you everything about process discipline.
Questions to Ask Before You Sign
Ask who performs the load calculation and whether you receive a copy. Ask what service size the plan calls for and what spare panel capacity remains at completion.
Ask when the rough-in walkthrough happens and who attends. Ask how lighting and low-voltage get priced, and ask for a written change order policy with pricing tiers by construction stage.
Ask about solar, storage, and EV readiness explicitly. A builder who has never designed a storage-ready panel will not learn on your project without cost.
Red Flags in Electrical Plans and Allowances
The biggest red flag is a plan that shows outlets without a panel schedule. That combination means locations were drawn and distribution was never engineered.
Round-number allowances are the second flag. A single lighting allowance covering fixtures, controls, and trim almost always understates reality by a wide margin.
I also watch for a full panel at handover, no spare conduit anywhere, and a refusal to provide as-built documentation. Those three together signal a builder optimizing for the inspection instead of the long-term construction quality the home actually needs.

Electrical Design for Tiny Homes and ADUs in California
Tiny homes and accessory dwelling units compress the same design problems into far less space and far less capacity. That compression makes design more important, not less.
I approach an ADU with the same load calculation rigor as a full custom home, because the constraint is tighter and the margin for error is smaller.
Feeder Sizing, Subpanels, and Existing Service
Most ADUs get fed from the primary residence’s existing service through a dedicated feeder to a subpanel. That feeder has to carry the ADU’s full calculated load without pushing the combined demand past the existing service rating.
Sometimes the existing service supports the addition comfortably. Sometimes it forces a service upgrade, and finding that out during design beats finding it out during inspection.
Compact Load Management Strategies
Heat pump mini-splits, induction cooking, and heat pump water heating fit small footprints and modest services well. Load management devices then let an EV charger coexist with those loads on limited capacity.
Panel space is the real constraint in compact builds. I specify panels with generous circuit counts and plan the ADU electrical and utility connections before the foundation gets poured.
Conclusion
Electrical system design connects load calculations, panel capacity, code compliance, lighting, smart wiring, energy readiness, and safety into one coordinated plan for your home.
This hub links to deeper resources on load calculation, structured wiring, energy-efficient design, and construction quality standards as your project moves forward.
We design electrical systems that stay ahead of your home’s future loads. Talk with Tiny Home Builders California about your project today.
Frequently Asked Questions
What service size does a custom home need?
Most custom homes need 200 to 400 amps. The load calculation decides it based on HVAC, water heating, cooking, EV charging, and pool equipment demand.
When do I choose outlet and switch locations?
At the rough-in walkthrough, after framing and before wiring. Standing in the actual rooms produces far better decisions than marking up a floor plan.
Do I need permits for custom home electrical work?
Yes. California requires permits with rough-in and final inspections, and your builder pulls them before any electrical work begins on site.
How much does electrical work cost in a custom home?
Labor leads, followed by fixtures and devices, then panels and gear. Fixture selections swing the total more than wiring, so specify rather than allowance.
What makes a home solar-ready and EV-ready?
Reserved panel and busbar capacity, dedicated conduit pathways, a battery location, and dedicated garage circuits. All of it costs little during construction.
Why does my new home need AFCI and GFCI breakers?
GFCI protects people from ground faults in wet areas. AFCI detects arcing faults that start fires. Current California code requires both across most circuits.
Should an ADU have its own electrical panel?
Yes, an ADU gets a dedicated subpanel fed from the main service. The feeder must carry the ADU’s full calculated load without overloading existing service.